
How to Avoid Over-Processed HDR Property Photos
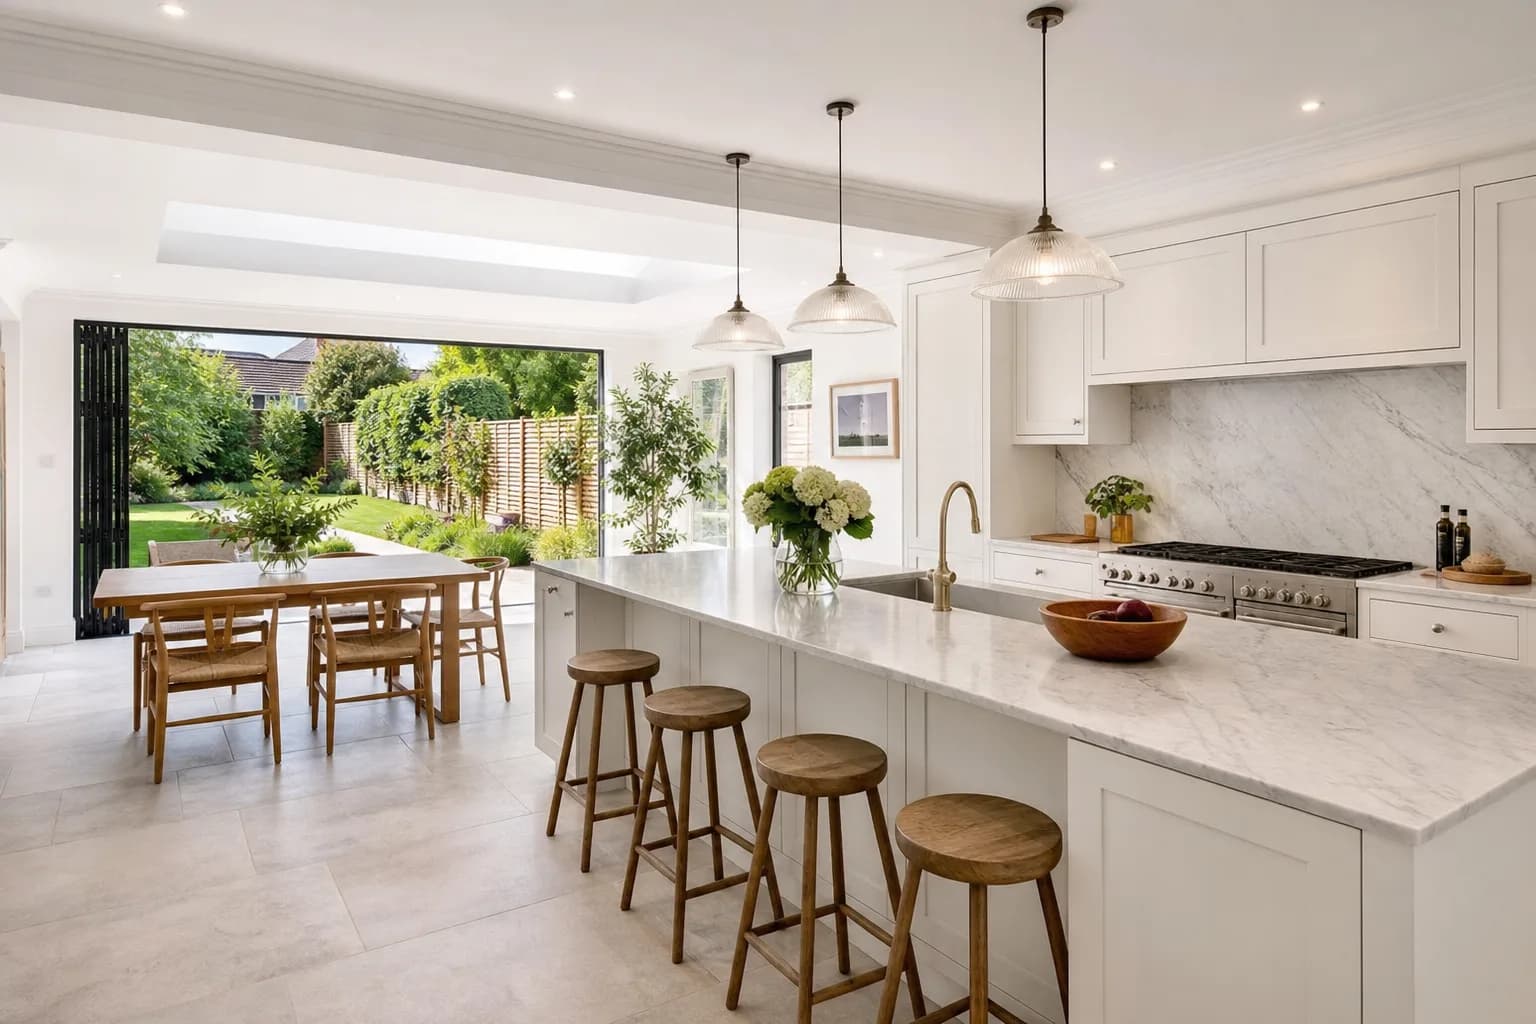
Natural listing HDR keeps walls believable and windows bright. Halos, crunch and neon grass are signs the merge went too far.
Key Takeaways
- Walls and wood tones are the honesty test.
- Windows should be bright, not glowing.
- Consistency across the listing matters more than one dramatic room.
When you review an HDRPhoto result, look at three things: the window bar, the wall nearest the window, and a wood surface. If those three are calm, the room will usually publish. If any one of them looks illustrated, reshoot or finish that frame by hand.
Frequently Asked Questions

HDRPhoto Editorial
Property photography editors
Practical guides on HDR property photography, camera settings and editing workflows, written by the ReHub Studio team that builds HDRPhoto.
Try HDRPhoto on a real shoot
Upload brackets or singles and review the merged photographs in the browser.
10 free HDR edits every month until 31 December 2026. No card required.
Related Articles

Lightroom HDR vs Automatic Property Photo Processing
Compare Lightroom HDR Merge with automatic property photo processing. Discover which workflow suits real estate photographers, estate agents and high-volume shoots.
Best Camera Settings for Interior Property Photography
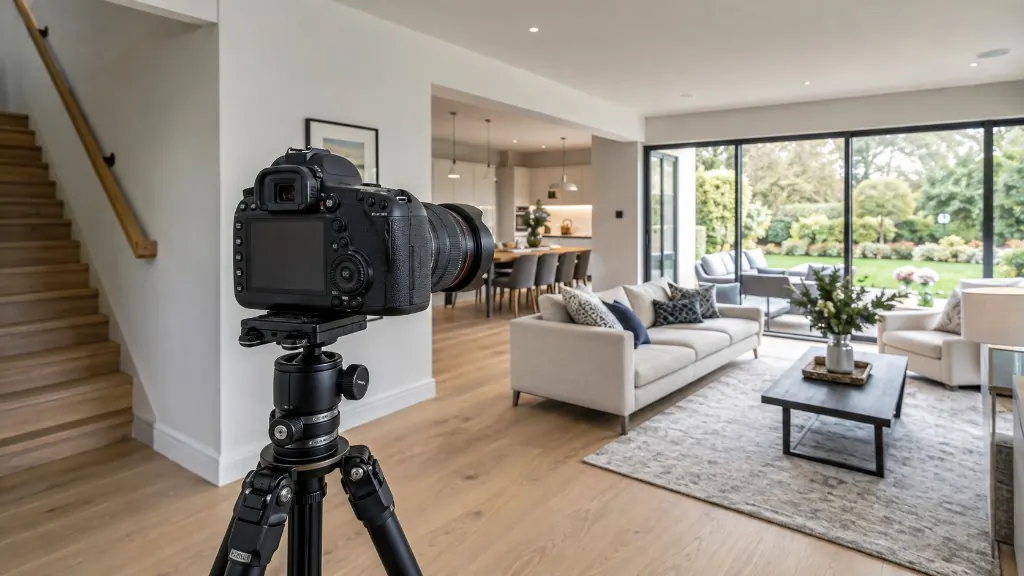
Starting points for aperture, ISO, shutter speed and white balance — and how to bracket so windows and interiors both hold detail.
The Complete Property Photography Workflow: From Preparation to Delivery
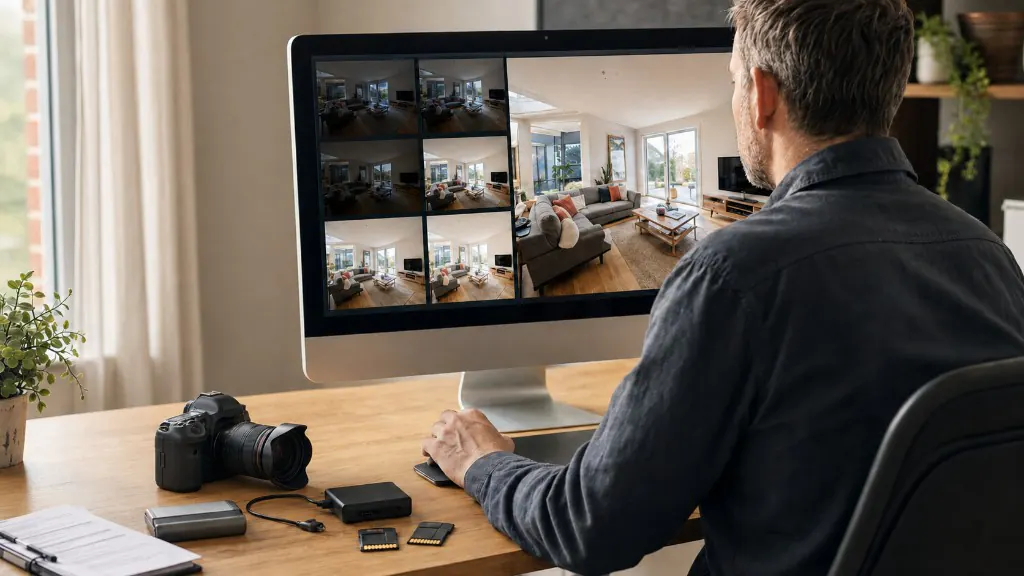
A repeatable property photography workflow from brief and kit check to HDR processing, quality control and delivery.